Movicon.NExT Help on Line - Rel. 4.2.358
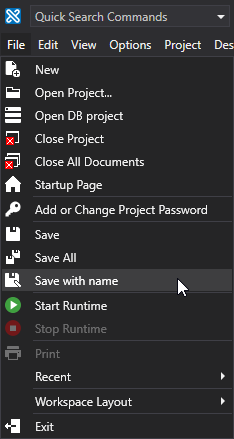
The "Save with Name" command from the "File" menu can be used to select a new name for the project as well as the target folder.

If you also wish to change the name of the application in addition to the name of the project, you will need to redirect the resources previously connected to the application's old name.
There are two ways in which to reconnect tags connected to the objects:
Redirecting the application's old name (used in the resourses) to the application's new name:
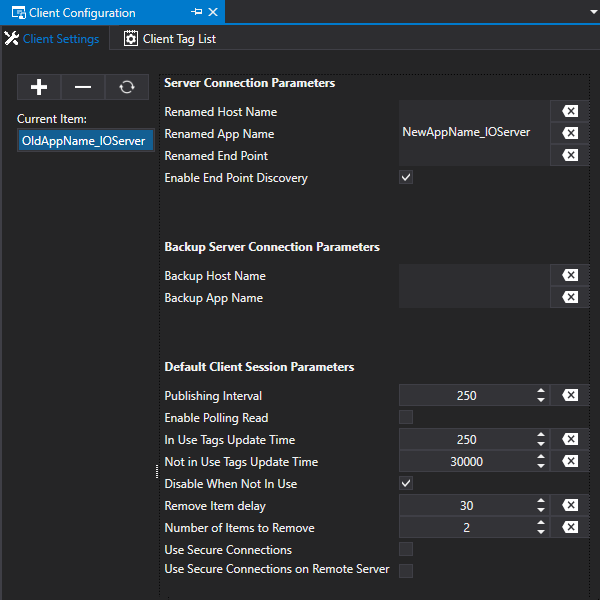
Open the "Client Configuration" dialog window from the main project tree.
Click the "+" button to create a new Application name.
Enter the application's old name in the "Current Item" field.
Enter the application's new name in the “Renamed App Name” field.
Mark the “Enable End Point Discovery” option to activate it.

Using the “Cross Reference” tool to redirect the objects directly in the resources towards the application's new name:
Save the project.
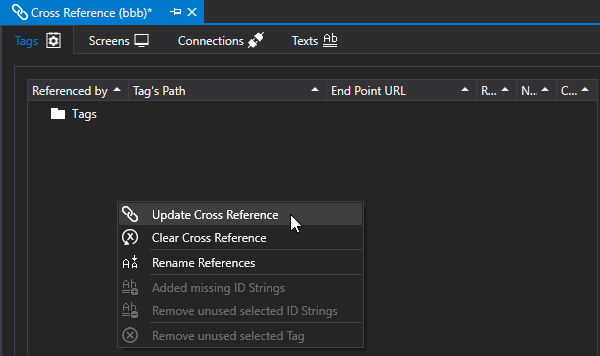
Go to the project tree and open the “Cross Reference” tool.
Execute the “Update Cross Reference” command with a right click or select the command from the “Cross Reference” menu.

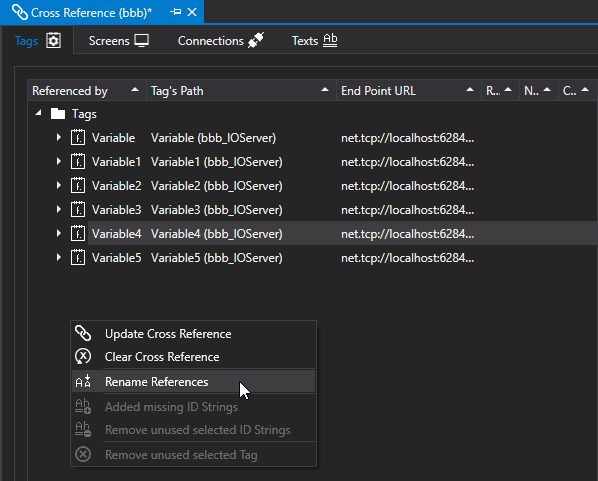
Select the resources to analyze and press ok. The Cross Reference will close all the project's resources and list the contents and detected connections in the appropriate tab.
Right click to execute the "Rename References" command for the tags or select the command from the "Cross Reference" menu to update the tag connections with the application's new name.
